Students will be able to effectively discuss a work of art with their peers with minimal guidance from the teacher.
Students will be able to analyze a work of art and respond to it in writing
CCSS.ELA-LITERACY.SL.3.2
Determine the main ideas and supporting details of a text read aloud or information presented in diverse media and formats, including visually, quantitatively, and orally.
CCSS.ELA-LITERACY.SL.3.1
Engage effectively in a range of collaborative discussions (one-on-one, in groups, and teacher-led) with diverse partners on grade 3 topics and texts, building on others' ideas and expressing their own clearly.
CCSS.ELA-LITERACY.W.3.3
Write narratives to develop real or imagined experiences or events using effective technique, descriptive details, and clear event sequences.
CCSS.ELA-LITERACY.W.3.10
Write routinely over extended time frames (time for research, reflection, and revision) and shorter time frames (a single sitting or a day or two) for a range of discipline-specific tasks, purposes, and audiences.
3.V.1 Use the language of visual arts to communicate effectively.
3.V.1.1 Use art vocabulary, including specific artistic terms.
3.V.1.2 Understand that artists use their art to express personal ideas.
3.V.1.3 Identify themes from masters’ works.
3.V.1.4 Understand characteristics of the Elements of Art, including lines, shapes, colors, textures, form, space, and value.
3.V.1 Use the language of visual arts to communicate effectively.
3.V.1.5 Understand characteristics of the Principles of Design, including repetition, movement, emphasis, contrast, balance, proportion, harmony, and unity.
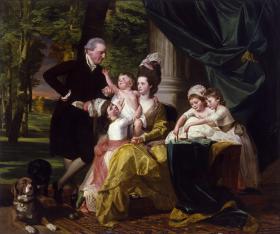
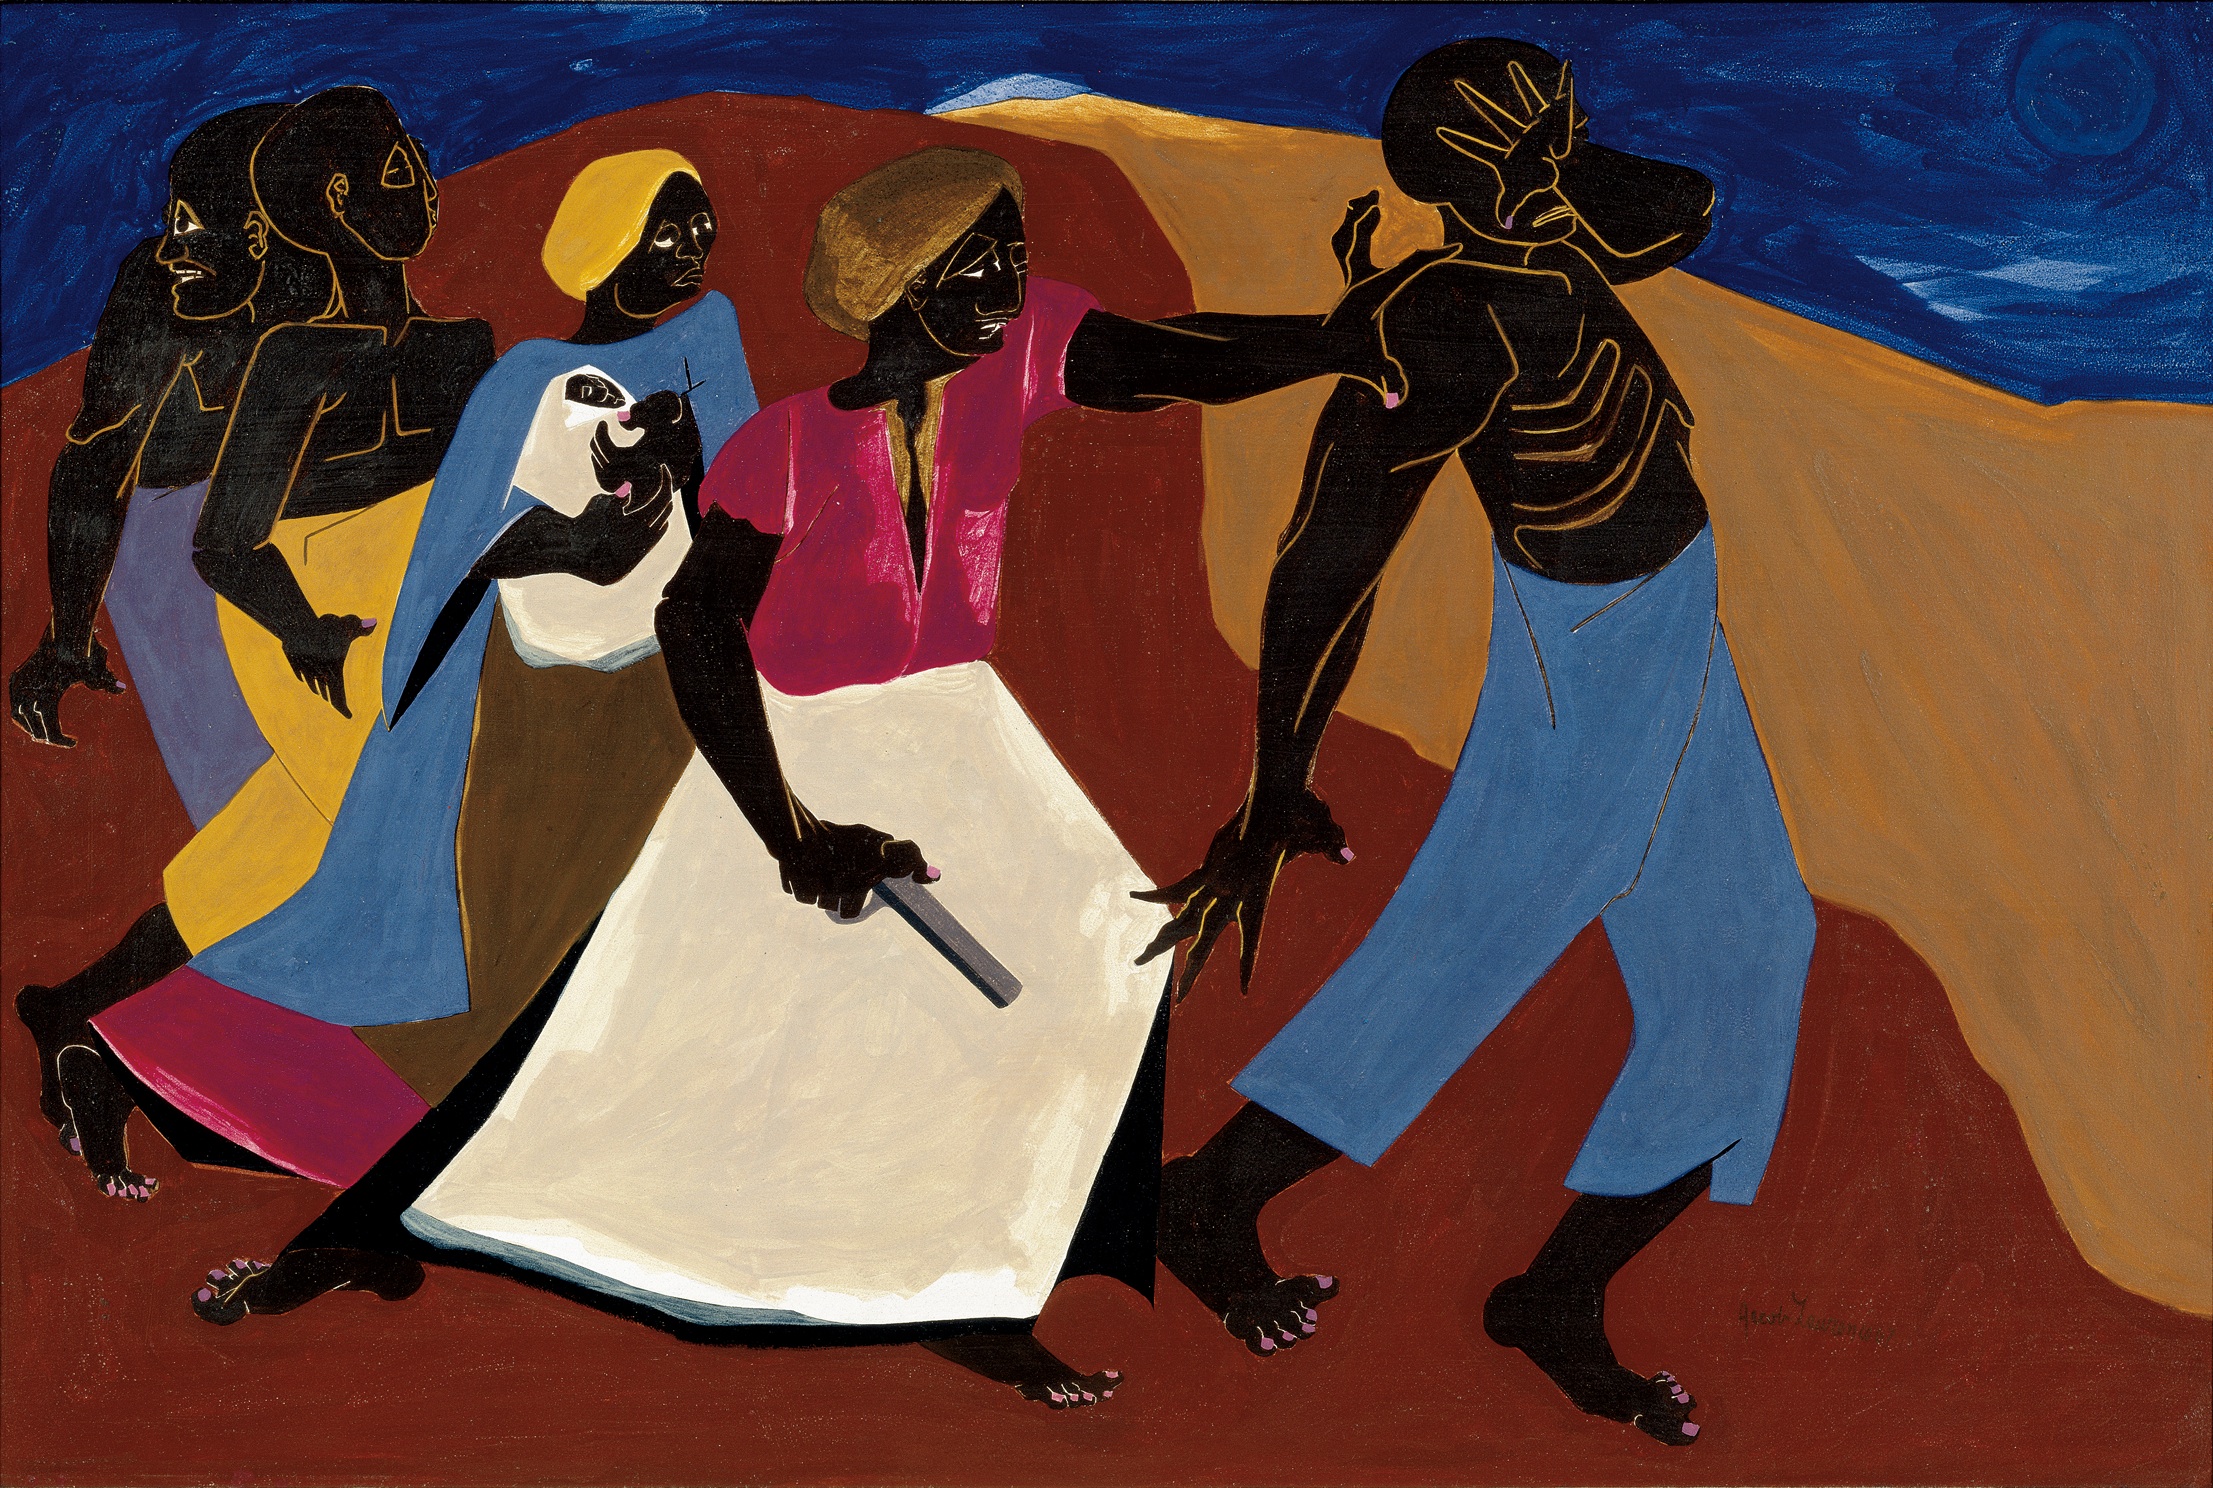
Session 1: As a whole group, discuss the difference between an inference and an observation. Then, gather the class in front of the painting. If you have a digital copy, you may want to project it. If not, a print copy would work if kids can share be able to look closely.
Spend the first few minutes silently observing the piece of art. No one is allowed to talk- only study. Then, open up the discussion for kids to observations that they see. Begin with calling on one student and then have them call on one another after that to guide the discussion. If students are stumped, you could ask guiding questions such as:
- What shapes does the artist use in this piece of art?
- What colors do you see? How do the colors affect the mood of the piece?
- Is there any movement in the piece of art?
After kids have shared their observations, have them share their inferences. After each inference, ask the student, “What makes you say that?” and guide them to tell you clues from the artwork that give them their idea. You can use the same method of having kids call on other kids so the teacher’s voice is minimal in the discussion.
Session 2: This can be done as a whole group or in a small-group, center setting. Kids can independently study the piece of art again and observe any details they may have missed the first time. Then, they pick one activity to do in their writing notebooks. The activities are set up on an anchor chart for the kids to see. The activities do not change, regardless of the work of art. The activities are all different levels and the kids self-select based on their needs. The activities are as follows:
Green (level 1):
- Describe the time (of day, season, or year) and the mood of the image.
- Make a list of all of the verbs, nouns, and adjectives you see (at least 15 total)
- Describe what is going on in the image.
Blue (level 2):
- Write a conversation between two or more of the characters in the image.
- Take on the role of one of the characters and describe what is happening.
- Write what you believe the artist is trying to tell you with this piece of art.
Red (level 3):
- Write about what is happening just outside of the frame.
- Write about what happened 5 minutes before the image or 5 minutes after the image.
- Zoom in on one part of the image and describe it in detail. Then, write two questions you’d like to ask the artist.
When students finish, they may sketch the piece of art in their notebook or pick another activity from the anchor chart to do.
Extension Activity:
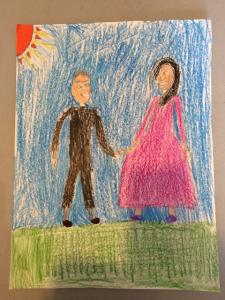
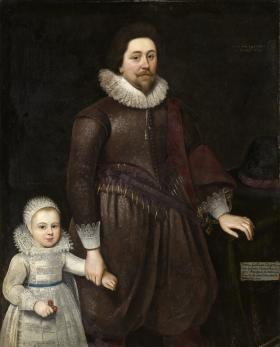
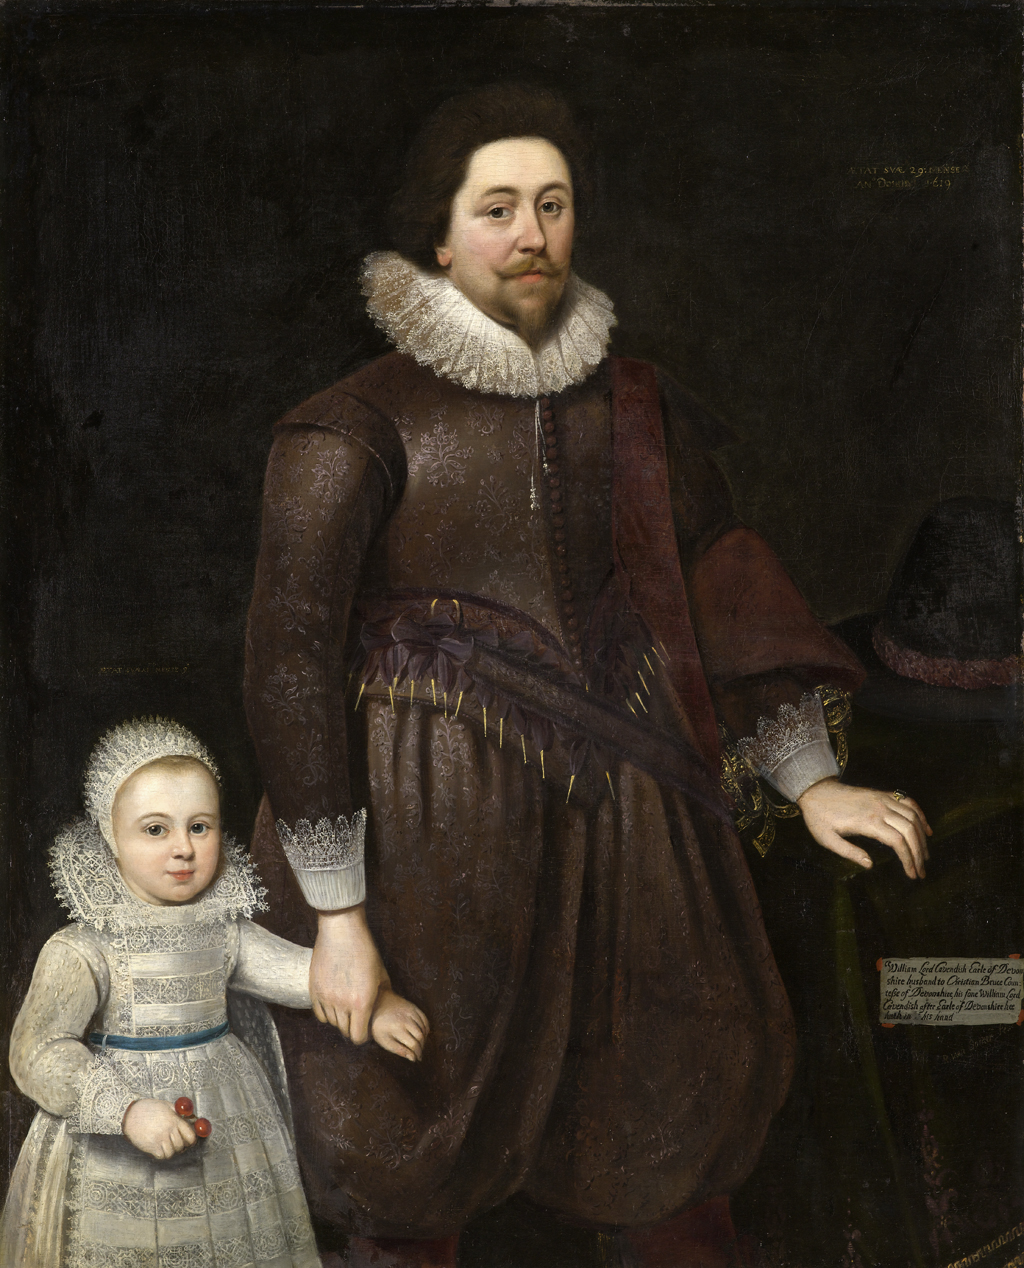
*The Extension Activity is written using William, Lord Cavendish, Later Second Earl of Devonshire, and His Son and Christian, Lady Cavendish, Later Countess of Devonshire, and Her Daughter by Paul van Somer.
This can be done as a follow-up to Session 2 or as a replacement. Students will have an opportunity to create their own work of art based on their interpretation of the painting. Ask the students to really observe the people’s clothes, expressions, and body language. Ask the students the following questions to lead the discussion:
- Based on the painting (not the title), how do we know that these paintings represent a parent and their child?
- Why do you think they wanted to be wearing their best clothes?
- What do their facial expressions and body language tell us about how they were feeling?
- Could the artist have added anything else to the paintings to tell more about their relationship? For example…?
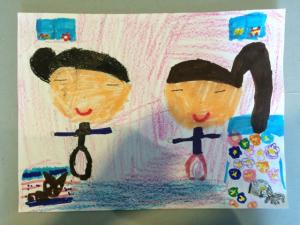
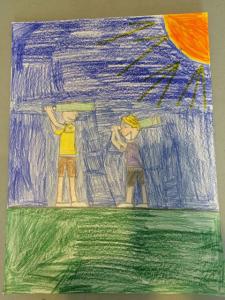
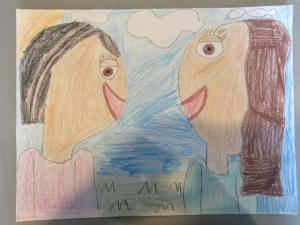
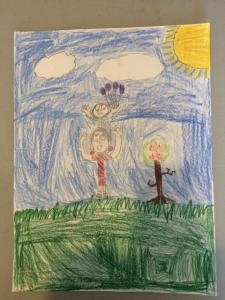
Students will then decide how they want to portray a picture of them with someone they admire (you could limit it to a parent or it could be opened up to any role model in their life). It’s important to stress that their picture should really encompass their relationship with the other person. They may think about what they like to do with that person, a tradition they have, or maybe something they have in common. Then, they can create their picture to show their relationship.
Students may use any materials they’d like to create their picture. Use what you have in your classroom and what the students are comfortable with.
Students will turn in individual writing notebooks and/or art to be assessed.
inference, observation, expression, body language, role model
piece of art (whether it’s a printed copy, digital copy to project, or individual copies for the kids), writing notebook, pencils, writing choice anchor chart, sketch paper, art supplies