
1. Students will apply knowledge of rock characteristics to classify rocks as igneous, sedimentary, or metamorphic.
2. Students will explore texture of various objects, including rocks, and use words to describe texture (including geology terms).
3. Students will identify texture and scale in art.
4. Students will incorporate texture and scale into an observational painting of a rock sample.
6.E.2.3
6.V.1.1
6.V.2.2
6.V.3.3
1. Give each group a collection of rock samples. The collection should include several examples of each of the three types of rocks; igneous, metamorphic, and sedimentary (limestone, obsidian, granite, gneiss, sandstone, slate, diorite, etc.). Allow students to use a hand lens to observe each rock, making quantitative and qualitative observations. Students can find mass, length, width, color, texture, grain size, grain shape, luster, etc. Tell students to record their observations on the Rock Classification Handout.
2. After students have made several observations, allow them to use the Rock Dichotomous Key to classify each rock as igneous, sedimentary, or metamorphic.
3. Discuss classifying rocks with students. Ask students to work with a small group to brainstorm a list of observable characteristics that show how the types of rock are different. Make a class list and lead students to understand that geologists use mineral composition, color, and texture to determine the type of rock. Discuss how mineral composition and color are related (certain minerals have a specific color).
4. Discuss the word texture. Tell students that they will be exploring the texture of rocks including the size, shape, and arrangement of the grains in the rock. Allow students to use Internet resources to complete the Rock Classification Graphic Organizer. Students should learn that each type of rock has a specific texture (large grained, fine grained, glassy, foliated, nonfoliated).
5. Review each type of rock. Show students examples of igneous, sedimentary, and metamorphic rocks. Have students point out the differences in color and texture. To review further, show the Types of Rocks BrainPop video and allow students to take the interactive quiz.
6. Review the word texture. Ask students how the texture of a rock is determined. Discuss other ways that people describe the texture of objects. Questions include: How do geologists find the texture of a rock? How is that similar/different to the way you would describe the texture of a common object? What words would you use to describe the texture of objects? What do you use to explore texture?
7. Allow students to explore the texture of common objects with their hands and bodies (students can use tongue to explore the texture of licorice, put their feet in the sand, rub feathers against their skin, feel an ice cube, etc.). As students are exploring the texture of the objects, they should write down the words they are using to describe the textures. Review these words together.
8. As a class, discuss texture in art. Tell students how texture can be the feel of a sculpture or the look of a painting. Ask: Why do you think artists use texture? What materials do you think artists can use to create texture on a painting? Sculpture?
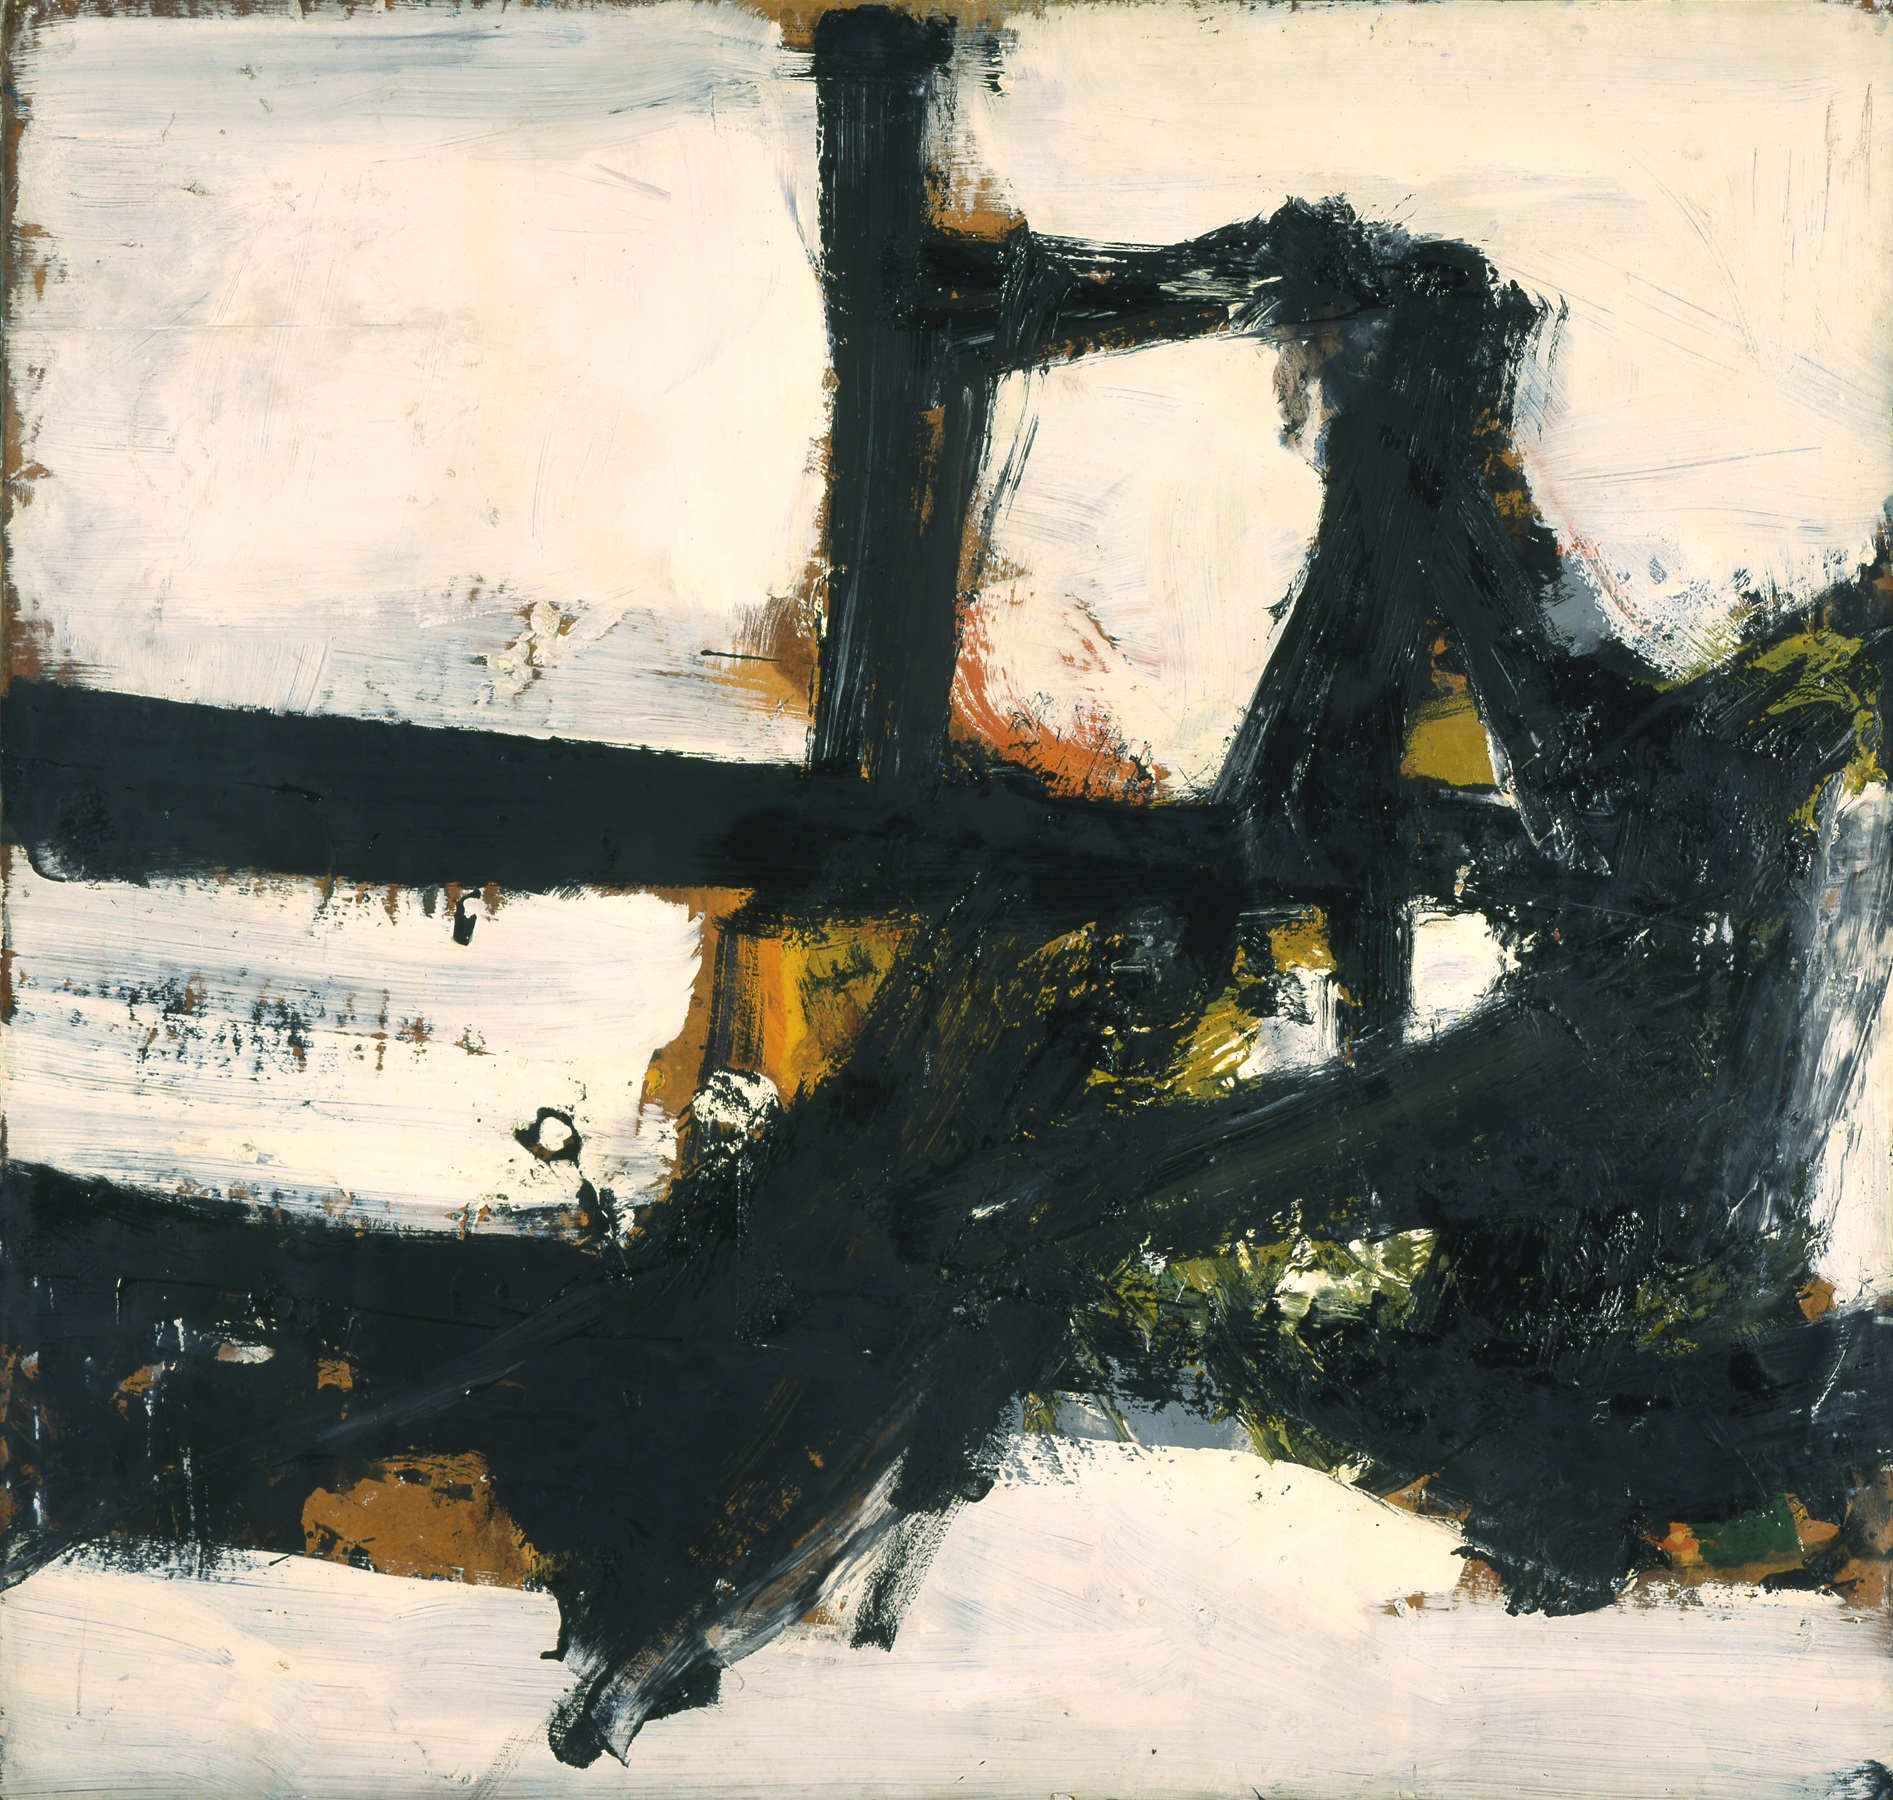
9. Project and discuss Franz Kline’s Orange Outline. Questions include: What do you see in this image? What could this painting suggest as its subject?
10. Ask students to take a closer look at the painting to observe the texture. Questions include: What do you think the texture of this painting would be like? If you were able to run your hands over it, what would this painting feel like? How do you think Kline created this effect?
11. Discuss how artists have a subject for their paintings. Ask: What do you think the artist was painting? What is the subject? Tell students how Kline often worked from small sketches to large paintings. Define the word scale. Use the background information for support.
12. Allow students to choose one rock from a collection of samples. Tell students they will be creating a scale drawing/painting of the texture of their rock sample. Discuss texture of rocks and how students can use paint to create texture on their painting.
13. Have students use a hand lens to pick out a small portion of the rock that can be used to show texture. Students will use this small spot and create a large-scale painting.
14. Allow students to begin painting, first choosing a main color and applying the first layer with a large brush.
15. Students should continue painting, applying more layers, colors, and textures to the painting. Students can also use sand, gesso, glitter, and sponges to create a texture to their painting.
16. During painting, remind students to compare their work to the original rock sample.
17. Once students have completed their work, ask them to write a reflection about the process using the Rock Painting Reflection Handout.
- Student observations and classifications of rock samples will demonstrate whether students correctly used the dichotomous key on the Rock Classification Handout.
- Group lists of rock characteristics and class discussion will demonstrate students’ understanding of how geologists classify rocks in different groups.
- The Rock Classification Graphic Organizer illustrates students’ understanding of how igneous, sedimentary, and metamorphic rocks differ in origin and texture.
- Class discussion about Franz Kline’s Orange Outline will assess students’ ability to use vocabulary to discuss art.
- The rock painting and reflection will demonstrate students’ ability to use observations to create a scale painting with texture (rubric).
igneous rock
metamorphic rock
sedimentary rock
texture
fine grain
coarse grain
foliated
nonfoliated
scale drawing
numerous samples of igneous, sedimentary, and metamorphic rocks
hand lenses
triple beam balances
metric rulers
various objects to use to explore texture (sand, feathers, ice, licorice, etc.)
cardstock to paint on
paint
gesso
sand
glitter
paintbrushes
scraping tools
sponges
Lesson Resources:
Rock Classification Handout
Rock Dichotomous Key
Rock Classification Graphic Organizer
Types of Rocks Internet Resources
Franz Kline's brash and freewheeling art wells from a distinctively urban, specifically New York sensibility. (He claimed to prefer the roar of traffic to the peace of the country.) Each of his paintings is a clamorous construction site, built stroke by stroke, revised and reworked. In Orange Outline the seemingly haphazard swaths of tar-black paint suggest an iron framework supporting the composition. The painting barely contains the energies of its making. Furthermore, it gains a gritty honesty by the deliberate, blatant roughness of its execution and the poverty of materials: cheap, commercial house paint slathered on a flimsy sheet of paperboard.
Kline insisted his most successful paintings were visual responses to a specific emotional state. Describing his images as "painting experiences," he explained, "I don't decide in advance that I'm going to paint a definite experience, but in the act of painting, it becomes a genuine experience for me."